The latest version of Android, 5.1 Lollipop has been officially unveiled by Google on Monday that brings a number of improvements and refinements to the software. The main benefit of having a Nexus devices is that the owners of these devices should receive software updates before the majority of other smartphones like Samsung, LG and HTC etc. Nexus 4 is a mid-range price smartphone that comes with high-end specifications like 1.5 GHz quad core, 32-bit Qualcomm Snapdragon S4 Pro processor, 2 GB RAM and with 8 GB / 16 GB internal storage.
The unofficial Android 5.1 can be installed on Nexus 4 devices using a custom recovery and Nexus 10 can be updated via Android 5.1 factory images. The official Android 5.1 Lollipop update will be available via OTA over the next few weeks but if you can’t wait for the OTA release or for the official Lollipop factory images for your Nexus device then we’ve a detailed step-by-step guide on how to install the unofficial Android 5.1 Lollipop build via custom recovery on the Nexus 4.
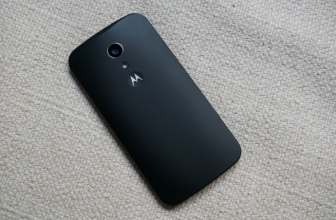
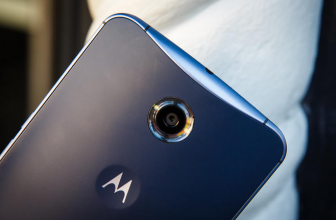
image credit: androidpit.com
Keep in mind that this is an unofficial release, so you might face some bugs, that is why it can’t be used as a daily driver. Now if you are get ready to taste the latest 5.1 Lollipop then follow the given instructions.
Note:
This guide containing the the firmware download link and instructions are working only with the LG Nexus 4 (Mako). Do not use this guide for other devices or incorrect variants, as a result your device might be damaged. You can verify the model number of your phone by navigating to Settings > About Phone.
Warning:
AndroidXDA.net will not be held responsible for any kind of damage or mishap occurred to your Nexus 4 device while installing the unofficial Android 5.1 Lollipop via custom recovery.
Before Getting Started:
- First, take a proper backup of all your important data and settings on your Nexus 4 before proceeding to installation. In case anything goes wrong then you’ll be able to restore your data.
- Make sure that you’ve properly installed US Nexus 4 USB Drivers on the PC.
- Enable USB Debugging mode by navigating to Settings > Developer Options.
- Your Nexus 4 should be rooted.
- The phone should be Factory Unlocked
- The Bootloader of the phone should also be unlocked.
- Verify the battery level of your Nexus 4, it should be charged at least about 80% before going ahead to the installation instructions to prevent unexpected shutdowns while the firmware installation.
Required Files:
Steps to Flash Unofficial Android 5.1 Lollipop Firmware via CWM Recovery on Nexus 4:
Step No 1:- First, download Android 5.1 Lollipop unofficial firmware for Nexus 4 on the desktop of the PC from the above given link.
Step No 2:- Plug your device to the PC using its USB data cable and mount its USB memory storage.
Step No 3:- Transfer Android 5.1 ROM .zip file which you’ve already downloaded from the above link, to the root folder of your SD card on the phone.
Step No 4:- Unplug the Nexus 4 from the PC and power it OFF in order to boot into Bootloader Mode.
Step No 5:- Power ON the device while pressing and holding Volume Up + Volume Down + Power to enter into BootloaderMode.
Step No 6:- Now, follow the on-screen instructions and select Bootloader > Recovery.
Step No 7:- While your device is now in CWM Recovery, perform wipe data/factory reset, wipe cache partition and wipe dalvik cache also by navigating to Advanced > Wipe Dalvik Cache.
Note:- wipe dalvik cache will help you to prevent boot loops and other errors while ROM installation.
Step No 8:- Go back to the main Recovery Menu and choose install zip from SD card → choose zip from sdcard.
Step No 9:- Navigate to the Android 5.1 Lollipop ROM .zip file which you’ve already transferred to the SD card of your device previously. Select the ROM .zip file using the Power button and confirm the installation to begin.
Step No 10:- Navigate to +++++Go Back+++++ once the installation is completed. From Recovery Menu, reboot your device by selecting reboot system now.
Your LG Nexus 4 will be rebooted and may take about 4 to 5 minutes to boot for the first time after installation.
You’ve successfully installed the latest Android 5.1 update via unofficial Lollipop build on your Nexus 4.
Let us know in the comments section below if you have any query or problem regarding the above tutorial to install Android 5.1 unofficial Lollipop on your Nexus 4.